
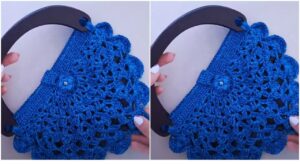
Beautiful, easy and simple for beginners – crochet bag
Making a simple crochet bag is a great project for beginners! Here’s a step-by-step guide to help you create a basic crochet tote bag. This pattern uses basic stitches and is easy to follow.
Materials Needed:
- Yarn: Choose a medium-weight yarn (like worsted weight).
- Crochet Hook: A size H/5.0mm crochet hook is recommended, but check the yarn label for the best size.
- Scissors
- Tapestry Needle: For weaving in ends.
- Stitch Marker: Optional, but helpful for keeping track of rounds.
Basic Stitches Used:
- Chain (ch)
- Single Crochet (sc)
- Slip Stitch (sl st)
Instructions:
1. Start with the Base:
- Chain 31.
- In the second chain from the hook, work 1 single crochet (sc).
- Continue to single crochet in each chain across. (You should have 30 sc at the end of the row).
- Chain 1 and turn.
- Work 1 sc in each stitch across for a total of 30 sc.
Repeat this row until your base is as wide as you want the bottom of your bag to be. Usually, around 10 rows are good for a basic tote.
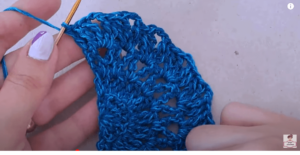
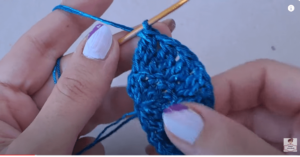
2. Build the Body:
- Once your base is ready, do not fasten off. Instead, work a round of sc evenly around all four sides of the rectangle base.
- Place 3 sc in each corner to help it turn smoothly. Use a stitch marker to mark the start of each round.
- Continue working in rounds, making 1 sc in each stitch around.
- Keep working rounds of sc until the bag reaches your desired height. Around 25-30 rounds should give you a good-sized tote bag.
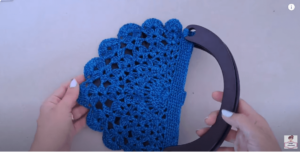
3. Create the Handles:
- Decide where you want the handles to start. Count how many stitches around your bag and mark the start and end points of the handles on both sides.
- When you reach the first marked point, chain 25-30 stitches (depending on how long you want the handles) and then skip the corresponding number of stitches on the bag.
- Attach the chain to the bag with a slip stitch and continue around the bag.
- Repeat for the other side.
4. Reinforce the Handles:
- On the next round, single crochet in each stitch around, including each chain stitch of the handles.
- For extra strength, you can go around one more time with single crochet.
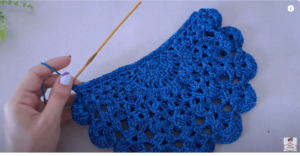
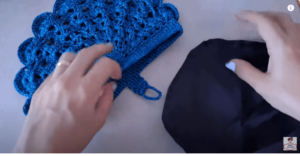
5. Finishing:
- Once you’re happy with the size and shape of the bag, fasten off your yarn and weave in any loose ends with a tapestry needle.
- Optionally, you can add a lining to the bag or decorate it with tassels, buttons, or other embellishments.
Tips for Success:
- Gauge: Try to keep your tension consistent throughout to avoid a lopsided bag.
- Customization: Feel free to customize your bag by changing colors, adding stripes, or using different stitch patterns.
Now, you have a lovely, handmade crochet bag that’s simple and functional!
video tutorial :


