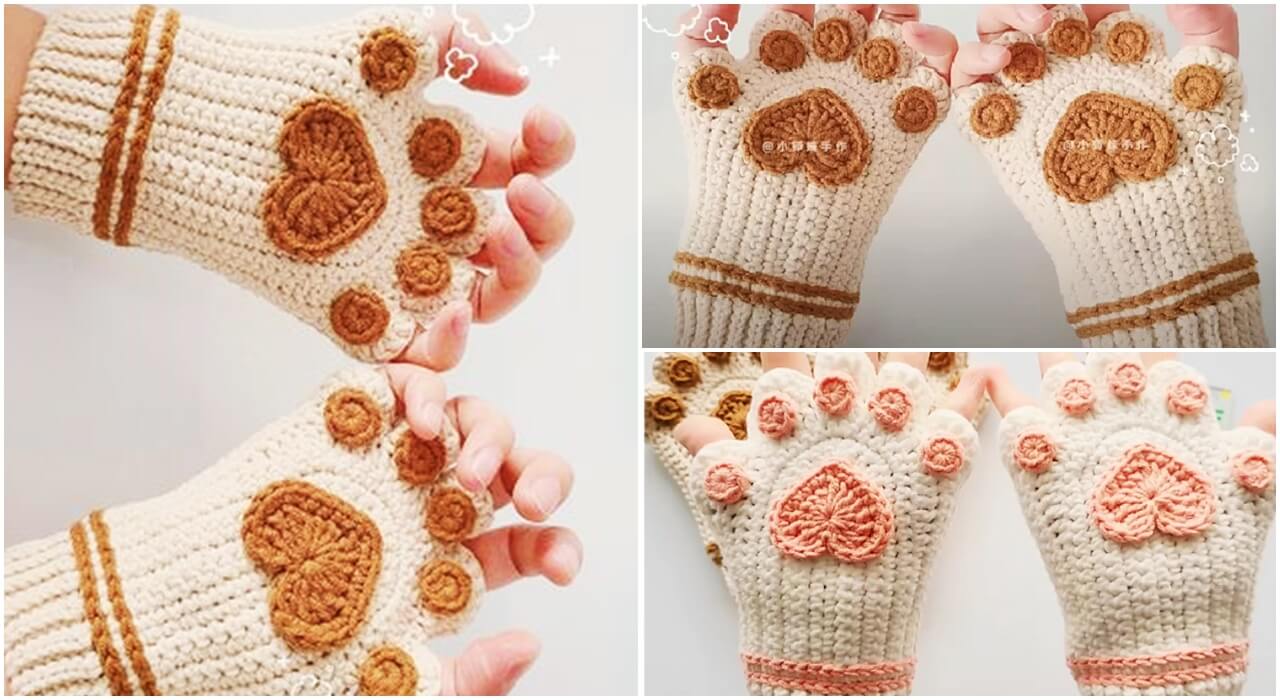
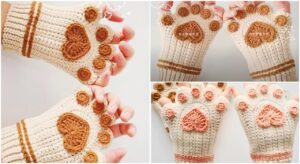
Crochet paw Fingerless knitting / Glove making
Creating crochet paw (paw print) fingerless knitting gloves can be a delightful project. Here’s a basic guide to help you make fingerless gloves with a crochet paw pattern:
Materials:
- Worsted weight yarn in the desired colors.
- Crochet hook appropriate for the yarn size.
- Stitch markers.
- Yarn needle.
- Scissors.
Crochet Paw Fingerless Gloves:
1. Measure and Chain:
- Measure the circumference of your hand around the palm, excluding the thumb. Chain a multiple of stitches that fits your measurement, plus a few extra for comfort.
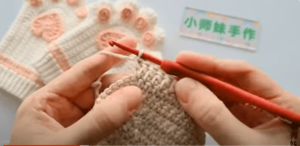
2. Single Crochet Ribbing:
- Single crochet in the back loop only for the first few rows to create a ribbed cuff. This will help the glove fit snugly around your wrist.
3. Main Body:
- Switch to regular single crochet and continue working in rounds until the glove reaches the base of your fingers.
4. Thumb Opening:
- Mark the stitches where you want the thumb opening to be. Skip these stitches and continue working in rounds for the rest of the glove.
5. Thumb Hole:
- In the next round, chain a few stitches over the marked space to create the thumb hole. Continue working in rounds, single crocheting over the chain stitches.
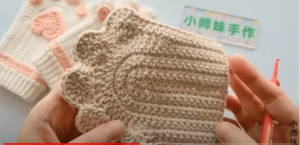
6. Continue to Finger Openings:
- Keep working in rounds until the glove reaches the base of your fingers (but doesn’t cover them). At this point, you can create openings for each finger.
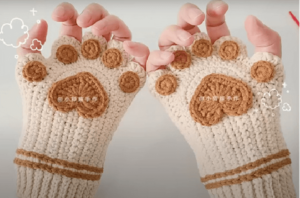
7. Paw Print Pattern:
- To create the paw print pattern, use a different color yarn to stitch the paw print onto the glove. You can use surface crochet or embroider the paw print.
8. Finish:
- Fasten off and weave in loose ends with a yarn needle.
9. Repeat for Second Glove:
- Repeat the process to make a matching glove.
Feel free to customize the size, color, and pattern to suit your preferences. You can find various paw print patterns online for reference. Additionally, experimenting with different stitch patterns and techniques can add a unique touch to your fingerless gloves. Happy crafting!
VİDEO TUTORİAL :


